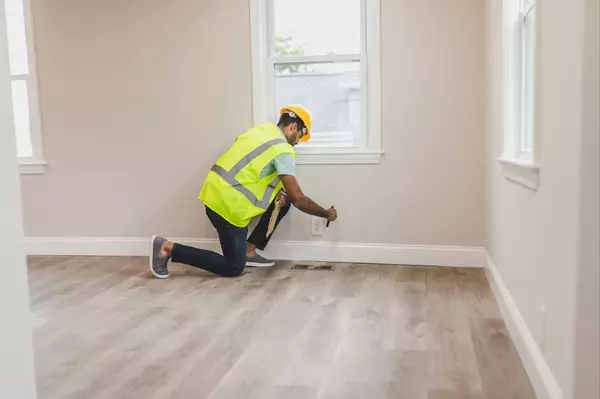
What is a Final Walkthrough?

The final walkthrough is a critical step in the home-buying process, allowing you to confirm the property is in the expected condition before closing. Here’s everything you need to know about its purpose, what to check, and how to handle any last-minute issues.
Purpose of the Final Walkthrough
The primary goal of the final walkthrough is to ensure that the property’s condition aligns with the terms of your purchase agreement. This step isn’t an inspection but rather a verification process to check that agreed-upon repairs have been completed, the property is free of damage, and no items included in the sale have been removed.
It’s your chance to make sure the home is exactly as you expected it to be, providing peace of mind before you sign the final documents.
Key Areas to Check
During the walkthrough, take your time to carefully inspect the property. Here are the key areas to focus on:
- Agreed-Upon Repairs: Verify that all repairs listed in the purchase agreement have been completed satisfactorily. Ask for receipts or documentation if necessary.
- Major Systems: Test essential systems such as plumbing, electrical, heating, and air conditioning to ensure they’re functioning properly.
- Appliances: Check that all included appliances are present and in working order.
- Windows and Doors: Open and close all windows and doors to confirm they operate correctly and have no damage.
- General Condition: Look for any signs of damage or changes to the property since your last visit, such as new stains, holes in walls, or missing fixtures.
Bringing a checklist can help ensure you don’t overlook anything important during the walkthrough.
What to Do if Issues Arise
If you discover problems during the final walkthrough, don’t panic. Common issues include incomplete repairs, damage from the sellers moving out, or missing items. Here’s how to handle these situations:
- Document the Issues: Take photos or videos of the problems as evidence.
- Notify Your Agent: Immediately inform your real estate agent, who will communicate with the seller’s agent to resolve the issue.
- Negotiate a Solution: Possible remedies include delaying closing until repairs are completed, requesting a credit at closing, or establishing an escrow holdback to cover the cost of the fixes.
Your agent will guide you through these discussions to ensure your interests are protected.
How to Get the Most Out of This Step
To make the final walkthrough as effective as possible, follow these tips:
- Be Thorough: Take your time to inspect the entire property and don’t rush through the process.
- Ask Questions: If anything seems unclear or concerning, don’t hesitate to speak up and seek clarification.
- Bring the Right Tools: A copy of your purchase agreement, a flashlight, and your checklist can be invaluable during the walkthrough.
- Schedule Wisely: Conduct the walkthrough as close to the closing date as possible to minimize the chance of last-minute changes to the property’s condition.
Remember, this is your final opportunity to address concerns before ownership transfers to you. Use it to ensure everything is in order and aligns with your expectations.
Categories
Recent Posts


GET MORE INFORMATION

